Now that UEFI has been around for over a decade, it’s time to focus on this modern firmware standard. If you’re still stuck with legacy BIOS, the configs are similar, but this article will only cover UEFI – As an extra incentive that upgrading to relatively newer stack rather than upcycling old stuff, for both your sanity and electricity bill. Some napkin math of Total Cost of Ownership (TCO) would justify the investments.
TLDR: Jump straight to unattended install for the final result.
Test the default config
Once tftp and DHCP is verified working in part 1, it should netboot, let’s test that first.
Consult your device/motherboard manual, hit the [hotkey] to go into BIOS / UEFI, enable PXE boot. The screenshot below is from a old enough Dell SFF box with an equally old i7-6700T. If your machine does not support PXE boot, it’s one more reason to upgrade to something newer.
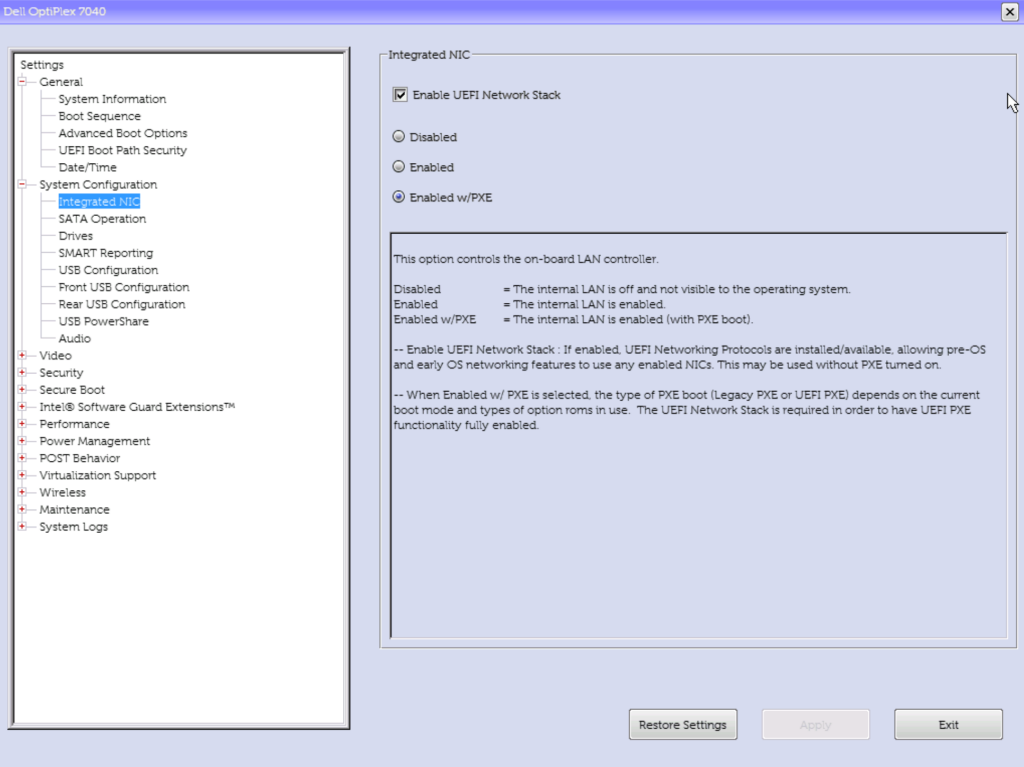
Apply, reboot, hit the hotkey again, and select boot from NIC.
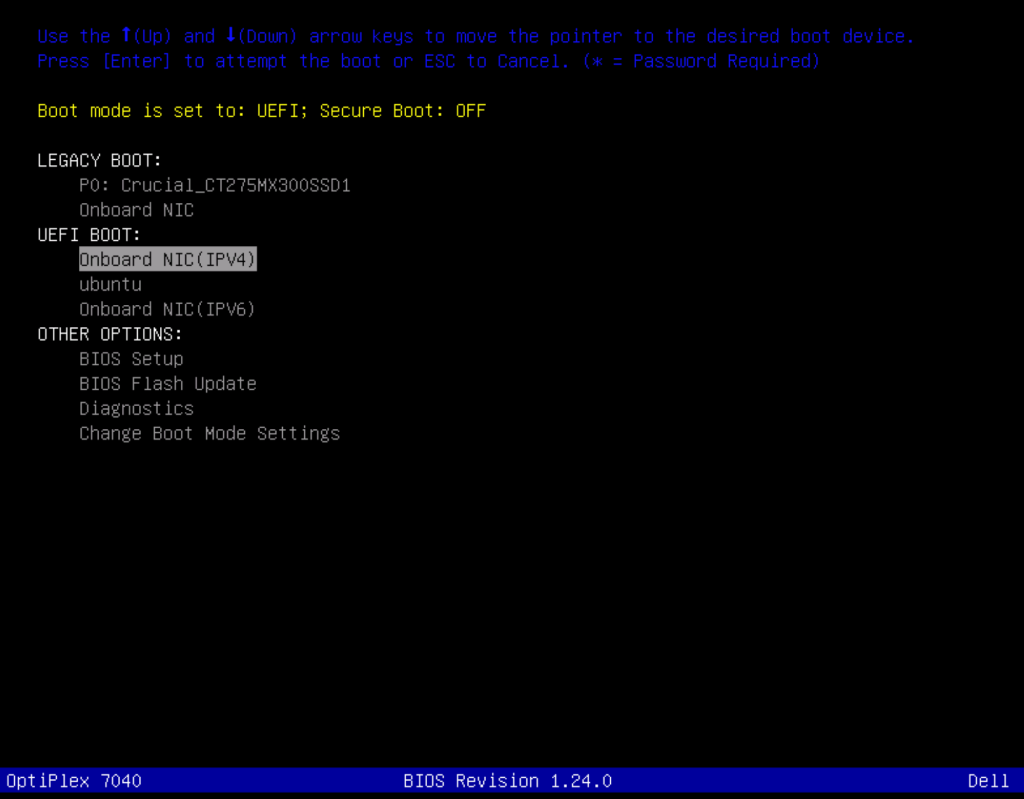
If everything works fine, you should see something like this:
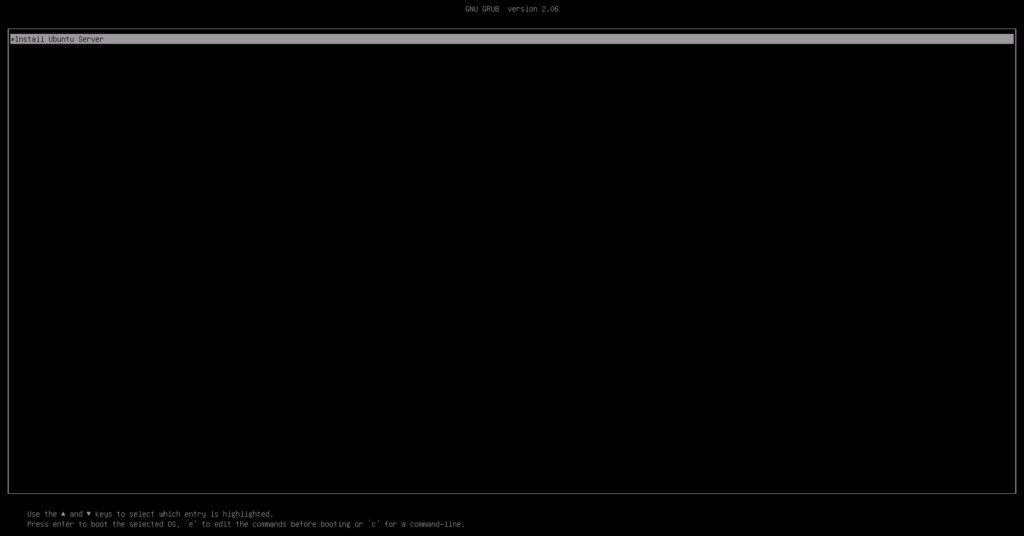
Enhance…
However, the default netboot config from the Ubuntu tarball would download ISO file from the internet (from the URL referenced in the grub.cfg ,more on that below), depending on your ISP, it would range from slow to extremely slow.
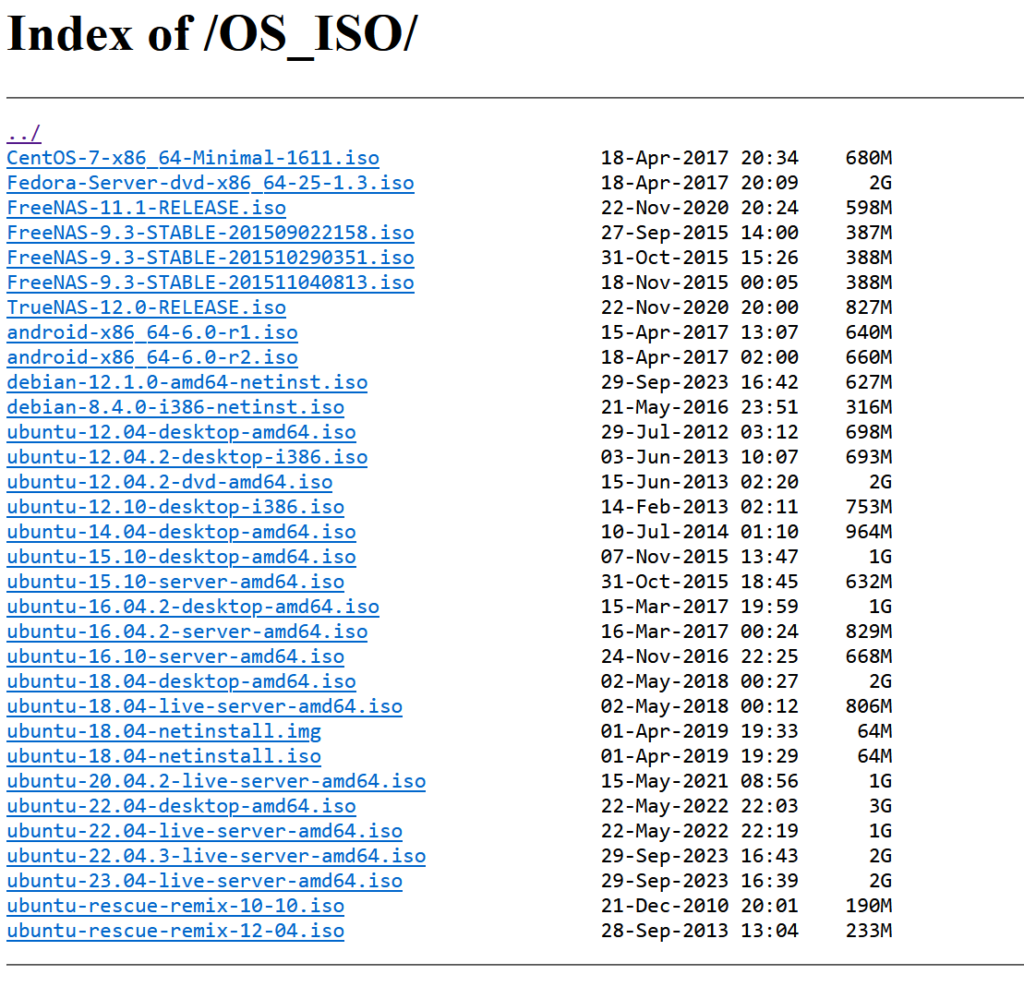
Therefore, let’s serve the ISO file over http on LAN instead.

Boot from ISO served over http on LAN
There’s like 99 different httpd out there, there’s one quick example nginx config:
# /etc/nginx/sites-available/default
server {
  listen 80 default_server;

  root /replace/this/to/the/real/linux/iso/folder;

  index index.html index.htm index.nginx-debian.html;

  server_name _;

  # For nostalgic ISO listing feeling
  location / {
        autoindex on;
        autoindex_exact_size off;
        autoindex_format html;
        autoindex_localtime on;
  }
}
Once done with the config, reload or restart nginx, open your browser and check.
In part 1, we have this structure for TFTP setup, grub.cfg is the file we’re gonna update.
 |-amd64
 | |-grubx64.efi
 | |-grub
 | | |-grub.cfg
 | |-pxelinux.0
 | |-linux
 | |-ldlinux.c32
 | |-initrd
 | |-bootx64.efi
 | |-pxelinux.cfg
 | | |-default
The default config grub.cfg looks like this:
menuentry "Install Ubuntu Server" {
        set gfxpayload=keep
        linux   linux iso-url=https://releases.ubuntu.com/23.04/ubuntu-23.04-live-server-amd64.iso ip=dhcp ---
        initrd  initrd
}
Let’s add a new entry for the local ISO at the top:
menuentry "Install Ubuntu Server (Local ISO)" {
        set gfxpayload=keep
        linux   linux iso-url=http://10.2.3.4/OS_ISO/ubuntu-23.04-live-server-amd64.iso ip=dhcp ---
        initrd  initrd
}

menuentry "Install Ubuntu Server" {
        set gfxpayload=keep
        linux   linux iso-url=https://releases.ubuntu.com/23.04/ubuntu-23.04-live-server-amd64.iso ip=dhcp ---
        initrd  initrd
}
Save the file, netboot again, and it should boot a lot faster.
<add new option>

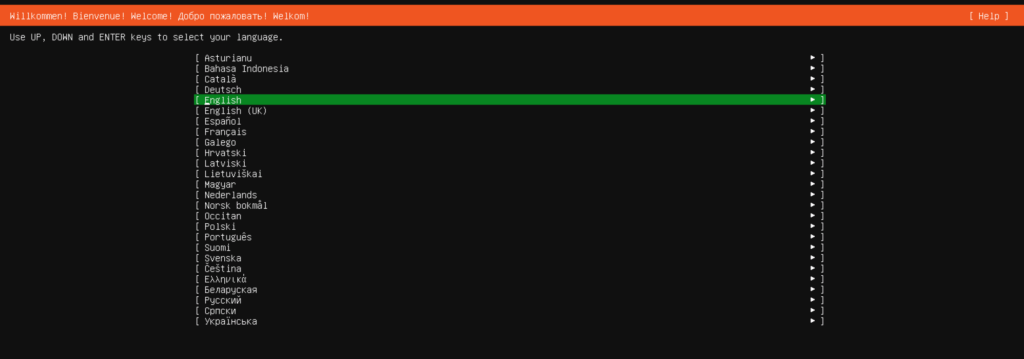
After a minute or so, the installer appears.
I could go from there, however, my intention of netboot is to provision baremetal Kubernetes worker boxes without micromanaging each system, so let’s automate that too.
autoinstall (unattended install)
Citing from Molnár Péter’s Professional Blogpost, straight to the point:
An easy way to obtain a working user-data autoinstall configuration file is installing a machine by hand. Then copy the /var/log/installer/autoinstall-user-data file onto the webserver and customize it.
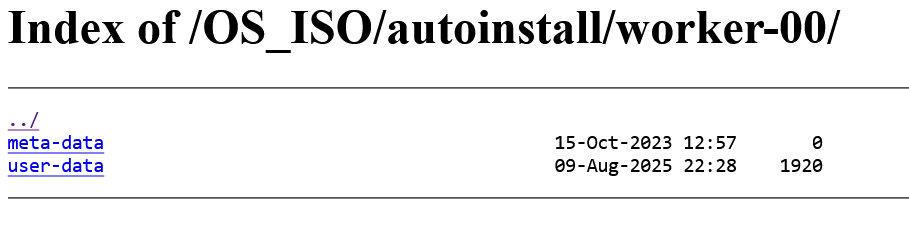
So, after one install, we got the user-data file, then we put the file also in the same http server with a different path:
Now, putting everything together in grub.cfg:
set timeout=120
set gfxpayload=1280x720x16

menuentry "Boot from first disk" {
    exit 1
}

set host_id=""

if [ "${net_default_ip}" = "10.3.0.100" ]; then
    set host_id="worker-00"
elif [ "${net_default_ip}" = "10.3.0.101" ]; then
    set host_id="worker-01"
elif [ "${net_default_ip}" = "10.3.0.102" ]; then
    set host_id="worker-02"
elif [ "${net_default_ip}" = "10.3.0.103" ]; then
    set host_id="worker-03"
fi

if [ -n "${host_id}" ]; then
    menuentry "Unattended Install Ubuntu Server 24.04.3 for ${host_id}" {
        set gfxpayload=keep
        linux   /dists/ubuntu24.04/vmlinuz \
                ip=dhcp \
                cloud-config-url=/dev/null \
                url=http://10.2.3.4/OS_ISO/ubuntu-24.04.3-live-server-amd64.iso \
                autoinstall \
                ds="nocloud-net;s=http://10.2.3.4/OS_ISO/autoinstall/${host_id}/" ---
        initrd  /dists/ubuntu24.04/initrd
    }
fi
What changed:
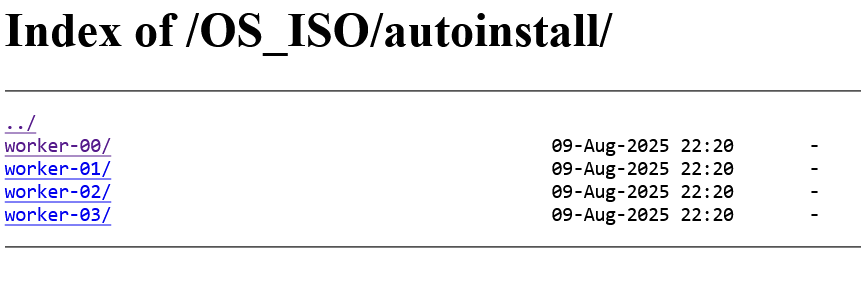
- Per host by IP setup (can also be MAC address) – each host has its own config.
linuxandinitrdpath changed! We are using 23.04 netboot to install 24.04, extract the files from/casperfrom the ISO and serve it from TFTP.
Your TFTP folder structure should look like this:
 |-amd64
 | |-dists # newly created!
 | | |-ubnutu24.04
 | | | |-initrd   # extracted from ubuntu-24.04 ISO /casper
 | | | |-vmlinuz  # extracted from ubuntu-24.04 ISO /casper
 | |-grubx64.efi
 | |-grub
 | | |-grub.cfg
 | |-pxelinux.0
 | |-linux
 | |-ldlinux.c32
 | |-initrd
 | |-bootx64.efi
 | |-pxelinux.cfg
 | | |-default
After verifying the above config works on a single host, add as much hosts as you like.
At this point you basically have a poor-man’s iPXE/Kickstart/MAAS setup — but with zero extra moving parts beyond TFTP, DHCP, and your mapping table.
– ChatGPT
…thanks, I guess?